Installing a car seat sounded simple in theory—until I started researching how to actually do it. Between the endless straps, angles, and safety recommendations, I felt like I needed a degree in engineering just to get it right.
If you’re also preparing for baby and feeling overwhelmed by the car seat setup, welcome. You’re not alone—and I’m learning right alongside you.
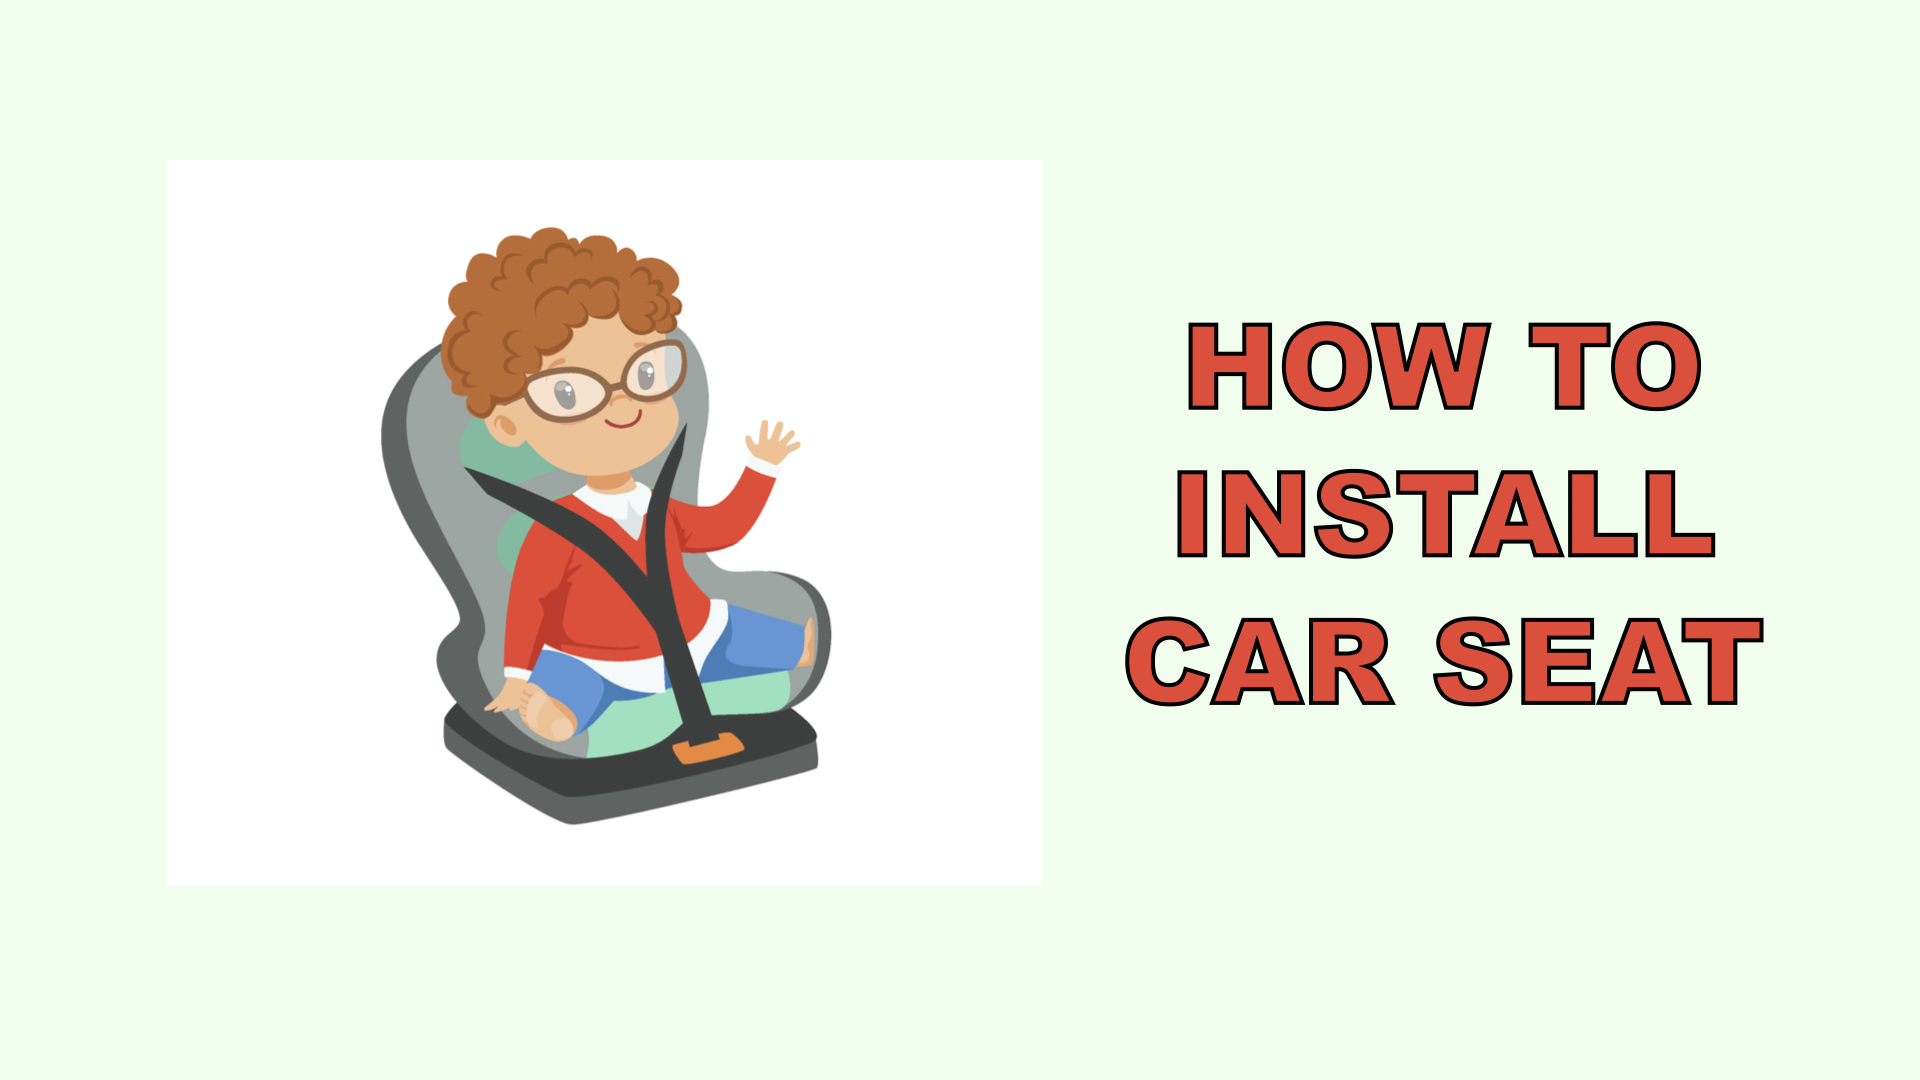
Here’s a breakdown of what I’m doing (and what I’ve learned) to install our baby’s car seat safely, confidently, and with a little less stress.
1. Read the Manuals (Yes, Both of Them)
I sometimes am the kind of person who ignores instruction manuals. But not this time.
Pro tip I’ve picked up: You need to read both the car seat manual AND your vehicle’s owner manual. They each have important info about:
- Where to place the seat
- How to use the seat belt or LATCH system
- Recline angles and weight limits
This is the foundation. I’m taking it slow, one section at a time.
2. Rear-Facing is the Safest for Newborns
The current recommendation is to keep babies rear-facing as long as possible—at least until age 2 or until they hit the seat’s height/weight limit.
So I’m planning to:
- Install the infant seat in the back seat, ideally the center position (if safe and allowed by the car)
- Use the rear-facing setup exactly as the manual describes
Safety first. Always.
(Additional Read: How to bathe your newborn)
3. Choose Between LATCH or Seat Belt (Not Both)
I didn’t know this at first, but you should only use either the LATCH system or the seat belt to install a car seat—not both.
What I’m doing:
- Checking the car and seat weight limits (LATCH has a weight cap)
- Testing both options to see which one gives a tighter fit
- Making sure the seat doesn’t move more than 1 inch side-to-side at the belt path
4. Check the Recline Angle
Newborns need to ride at a proper recline angle to keep their airways open.
Most car seats have a built-in level indicator—some are bubble levels, others are color indicators.
What I’m doing:
- Parking on a level surface before installing the car seat.
- Adjusting the base angle or using a rolled towel if needed (only if the manual allows it)
(Also Read: Safety Sleep Checklist for your Baby)
5. Don’t Forget the Harness Fit
Once the seat is installed, I’m also practicing how to buckle baby in safely using a similarly sized stuffed animal.
Here’s what I’ve learned so far:
- Straps should be at or below baby’s shoulders in a rear-facing seat
- Chest clip should be at armpit level
- You shouldn’t be able to pinch any slack in the straps
This part makes a huge difference in safety during a crash.
6. Get a Free Safety Check (Because Why Not?)
This tip gave me peace of mind: many fire stations, hospitals, and local agencies offer free car seat checks.
I’m planning to schedule one after my practice install.
You can also check nhtsa.gov to find a certified tech near you.
7. Register the Car Seat
It’s not just for warranty stuff—registering your car seat means you’ll be notified in case of a safety recall.
There’s usually a postcard in the box, or you can register it online with the manufacturer.
Takes two minutes. Totally worth it.
Final Thoughts (From One Determined Parent-to-Be to Another)
Installing a car seat correctly feels like a rite of passage into parenthood—and yeah, it can be a bit intense.
But taking it one step at a time, asking questions, and double-checking everything is helping me feel way more confident.
We’ve got this. Safely and securely.